Preparing Your Jira Instance for a Cloud Migration: A Governance Checklist
A Jira Cloud migration is one of the highest-stakes operations in an Atlassian administrator’s career. Unlike a routine configuration change — where a mistake affects a subset of users and can often be corrected within hours — a migration failure can affect the entire organization and may require days of remediation.
The most common source of migration problems is not technical. It is incomplete dependency understanding. Administrators migrate the core data but overlook the web of references that connect Jira objects to each other, and to external systems. The result is a post-migration instance where filters return incorrect results, automation rules fire on the wrong conditions, and integrations silently fail.
This checklist addresses the governance and dependency aspects of migration preparation — the work that must happen before the first row of data is moved.
Phase 1: Pre-migration audit
1.1 Document your current configuration baseline
Before touching anything, create a complete snapshot of your current instance configuration:
- Total number of projects (active and archived)
- Total number of custom fields, and which contexts they belong to
- All workflow schemes and the projects that use them
- All screen schemes and associated issue type schemes
- All permission schemes
- All active automation rules, with their trigger types and scope
- All active integrations and webhooks
This baseline becomes your reference point for validating the post-migration state.
1.2 Run impact analysis on every globally-scoped object
Every custom field, workflow, and permission scheme that is used globally (i.e., not scoped to a single project) is a potential migration risk. For each one, you need to know:
- How many projects reference it?
- Which filters use it in JQL?
- Which automation rules reference it by name?
- Which dashboards depend on gadgets that use those filters?
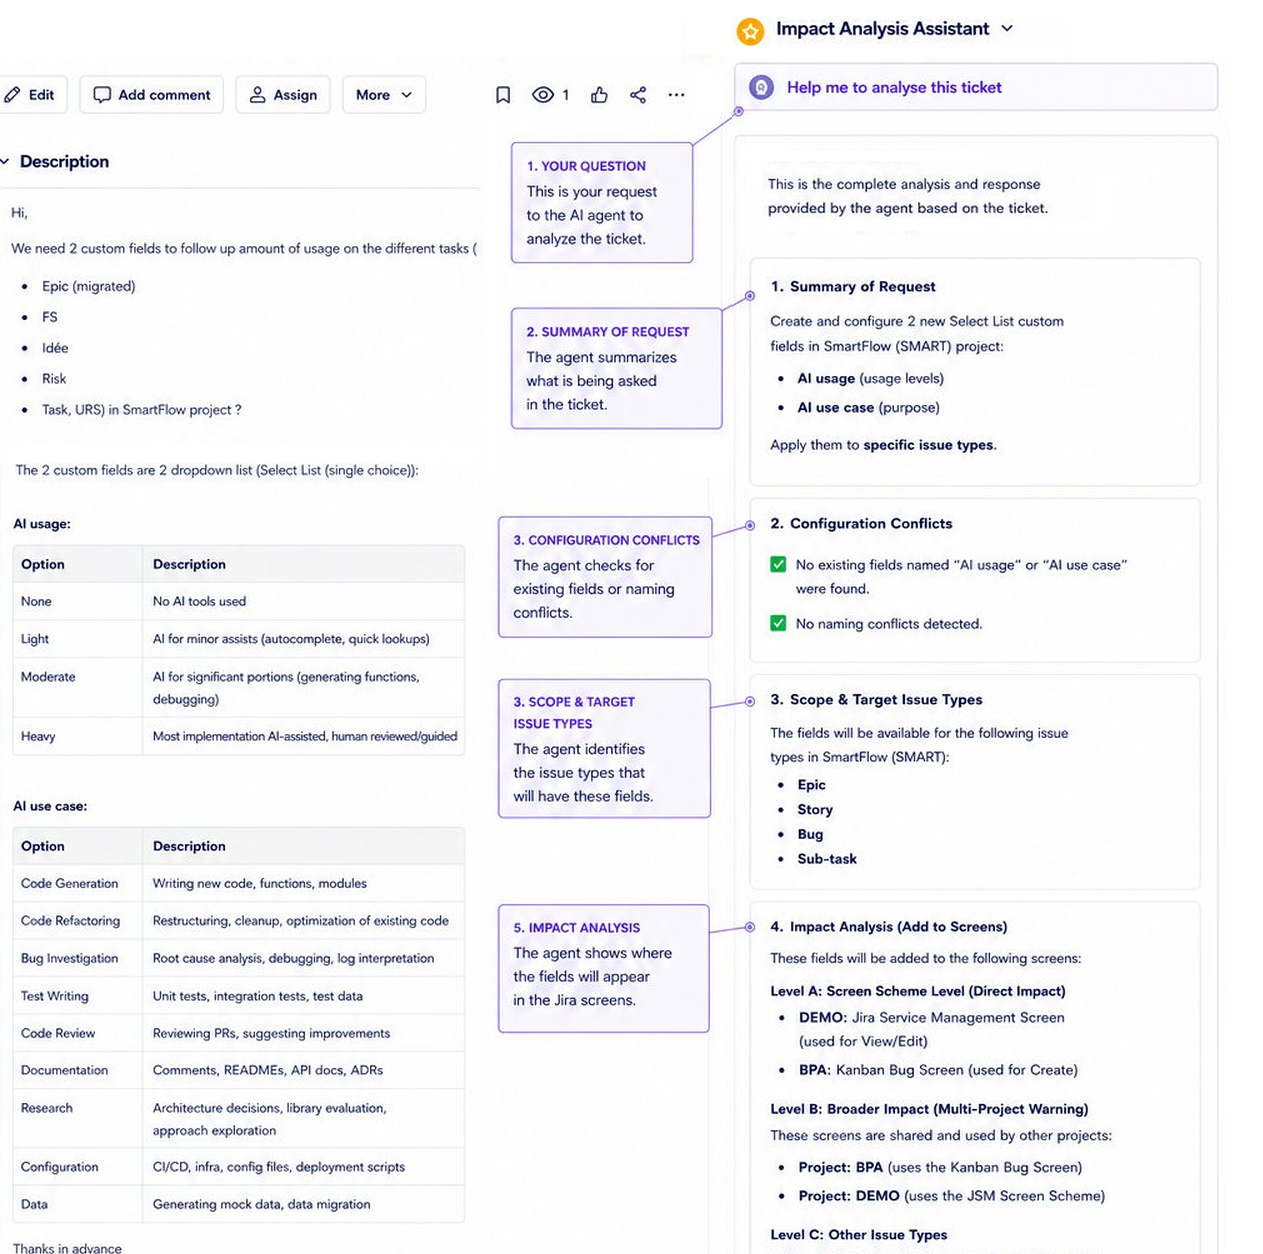
Impact Analysis for Jira can run this scan across all globally-scoped objects systematically. The output gives you a complete dependency map of your instance — exactly the information you need to validate that the migration preserved all relationships correctly.
1.3 Identify and resolve technical debt before migrating
A migration is not the time to discover that your instance has 300 unused custom fields, 50 broken filters, and 20 automation rules that reference deleted workflows. Migrating technical debt does not clean it up — it just moves it to the new environment, often in a worse state.
Before migrating:
- Remove custom fields with zero active references
- Delete or repair broken JQL filters
- Deactivate automation rules that reference deleted or archived objects
- Archive projects that have had zero activity for more than 12 months
Every object removed from the source instance is one fewer object that needs to be validated in the target instance.
1.4 Map all external integrations
Jira Cloud has different API endpoints, different OAuth mechanisms, and different webhook payload formats compared to Server and Data Center. Every external integration that reads from or writes to Jira needs to be inventoried:
- CI/CD pipeline integrations (GitHub, GitLab, Jenkins, Bitbucket)
- Service management tools (PagerDuty, OpsGenie, ServiceNow)
- Analytics and reporting tools (Tableau, Power BI, Confluence)
- Custom scripts and internal tools using the Jira REST API
Each integration will need to be tested against the Cloud API and may require updates to endpoint URLs, authentication tokens, and payload parsing logic.
Phase 2: Migration execution governance
2.1 Migrate in stages, not all at once
For instances with more than 50 projects, migrating everything at once significantly increases the complexity of validation. Instead, group projects into migration waves:
- Wave 1: Low-risk projects with minimal cross-project dependencies (isolated workflows, no shared custom fields)
- Wave 2: Medium-complexity projects that share some global configuration
- Wave 3: High-dependency projects and any that are business-critical
This staging approach allows you to validate the migration quality at each wave before proceeding.
2.2 Establish a pre-migration freeze period
In the 2 weeks before migration, enforce a configuration freeze on all Tier 2 and Tier 3 change requests. Any changes made during this period will need to be documented and verified in the migrated environment, adding complexity to validation.
2.3 Run parallel operations for critical workflows
For business-critical workflows — those that support customer-facing SLAs or financial reporting — consider running the old and new environments in parallel for a short validation period. This allows issues to be discovered and resolved without impacting live operations.
Phase 3: Post-migration validation
3.1 Re-run your dependency analysis in the target environment
After migration, run the same impact analysis scans you ran in Phase 1 against the target Jira Cloud instance. Compare the results. Every object that showed dependencies in the source should show the same dependencies in the target.
Any discrepancy is a migration gap that needs to be investigated and resolved.
3.2 Validate automation rule behavior
Automation rules are the highest-risk migration category. The Jira Cloud automation engine has different behavior from Server/DC automations in several areas:
- Trigger timing and batching
- Smart value syntax (some differences between Server and Cloud)
- Cross-project rule scope
- Integration action formats
Test every automation rule against a representative set of issues before declaring the migration complete.
3.3 Verify external integrations end-to-end
Do not mark integrations as “migrated” until you have verified end-to-end: trigger an event in the external system, verify it appears in Jira Cloud as expected, and verify that Jira Cloud events flow back to the external system correctly.
A note on timing
The most reliable indicator of migration success is not the absence of reported incidents on day one — it is the absence of reported incidents after 30 days. Many migration issues surface slowly: a filter that runs on a monthly schedule, an automation that triggers on a quarterly event, a report that is only viewed during the quarterly business review.
Plan for a 30-day hypercare period after migration, with enhanced monitoring and a low threshold for escalation. The investment in careful migration preparation — dependency analysis, technical debt cleanup, integration mapping — pays for itself many times over in this hypercare period.